Sign In
 Create Account

Well the build is now finished after 2 weekends worth of work and we thought that we'd share the experience to let anyone else who's interested know, what we did and how we went about it.
We took our time with the build and fucked around a lot so if you are keen enough you could do it in 3 days easily.
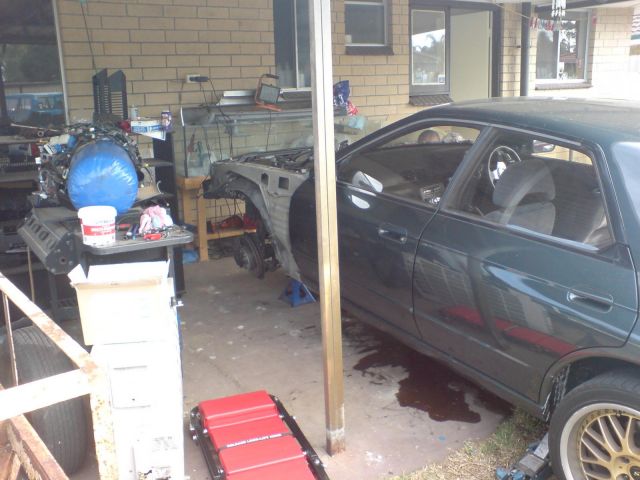
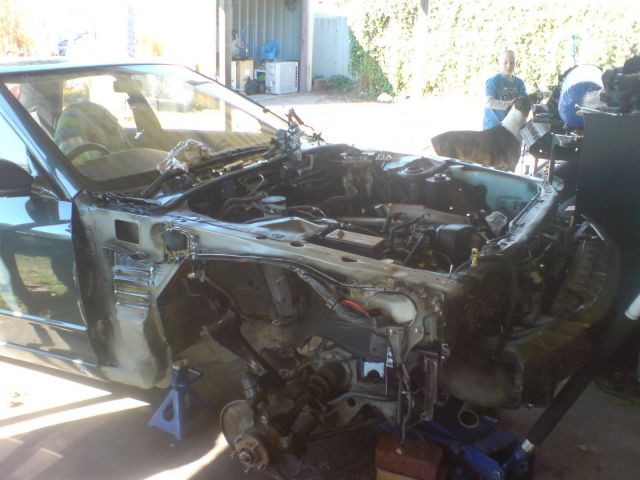
Firstly, the arrival of the front cut.
This is what the girl looked like before we tore her apart.

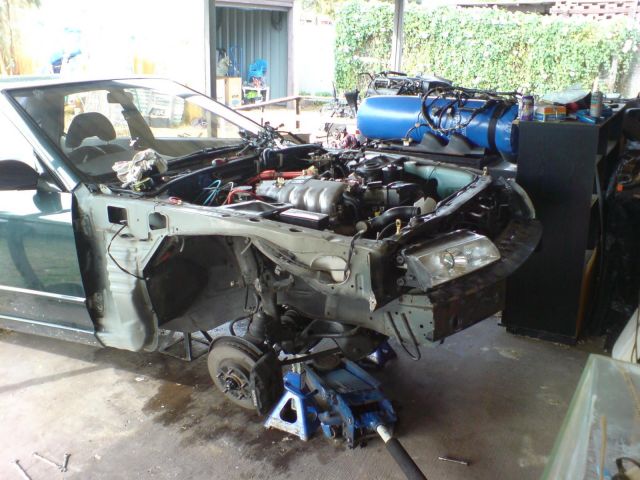
Now we get down to the nitty gritty. We jacked her up and placed her onto stands, then removed the usual items but also the front fenders. The reason for the removal of the fenders was for easier access to feed the wiring looms.
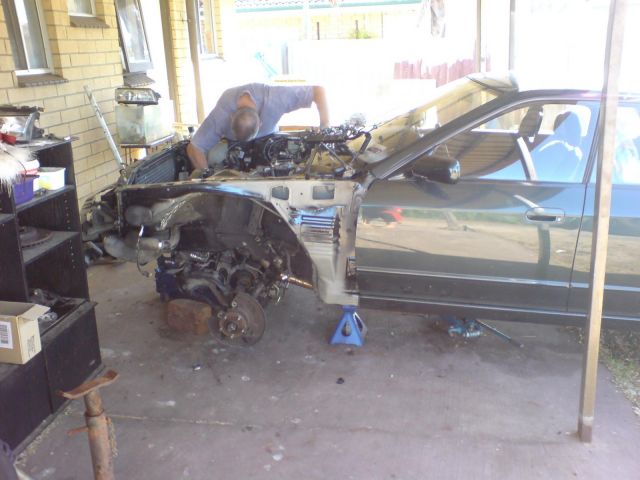
The way we wanted to go about the swap was to remove the sub-frame, engine, and gearbox in one piece from the front cut, and transfer the whole lot over to the donor vehicle.
And so it begins.
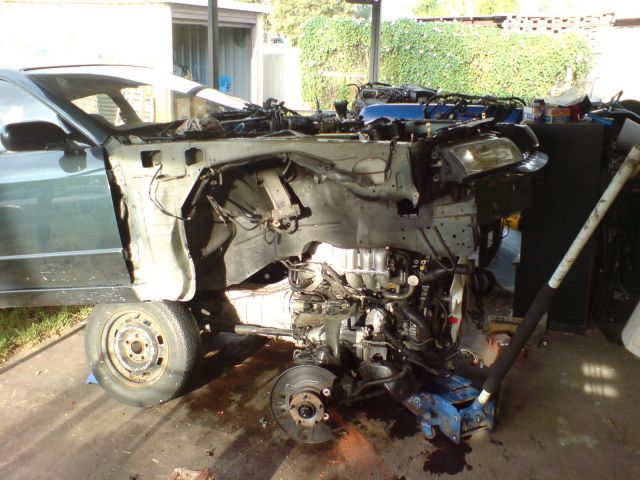
Next we jacked up the front of the car and supported the sub-frame with stands.
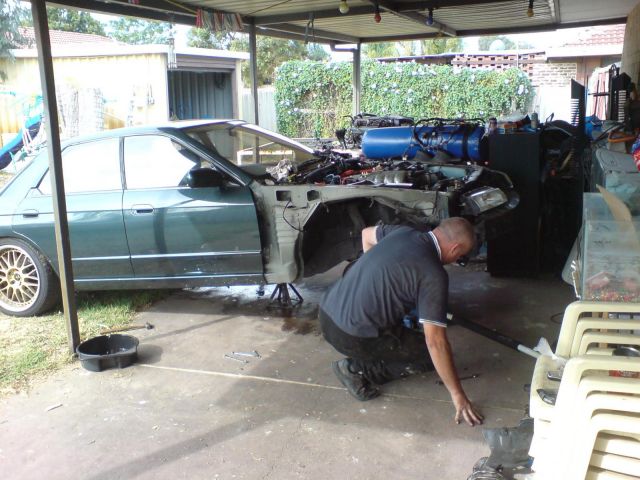
Now we removed the driveline items and supported the gearbox with a trolley jack.
Then we removed the bolts for the sub-frame and gearbox crossmember. Then we slowly lowered the sub-frame and gearbox down to more stands.
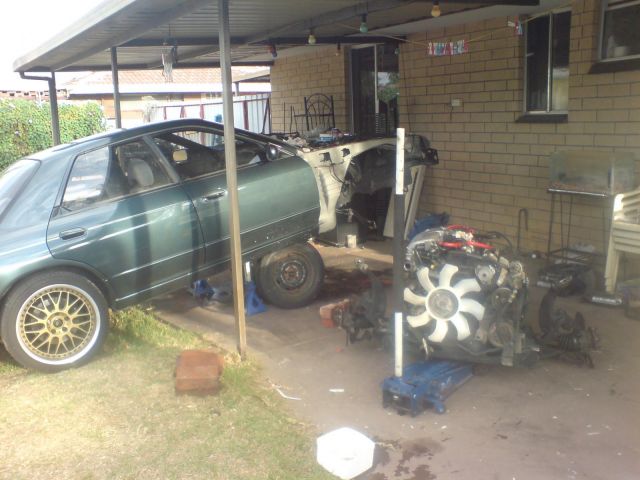
Next we jacked up the front of the car to a point where we had enough clearance for the complete setup to clear the bottom of the front frame. We used truck stands under the chassis to support it while we were moving the engines around.
We then transferred the trolley jack to under the sub-frame, jacked it up, removed the stands, then moved the setup out using just the trolley jacks.
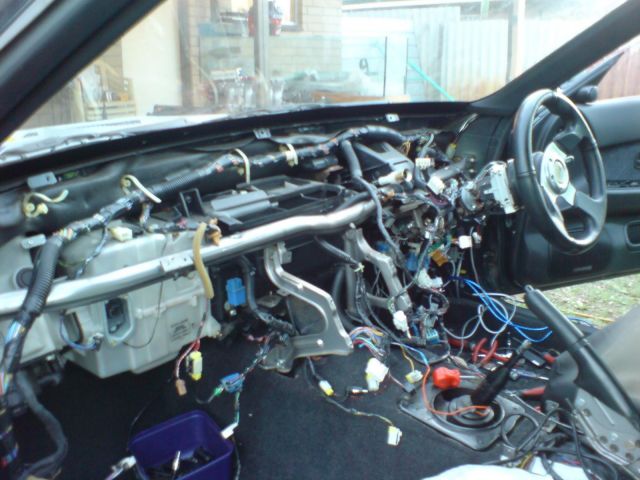
At this point we swapped over both sides of the wiring loom because it's easy to get to everything with no engine in the way.
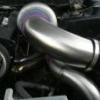
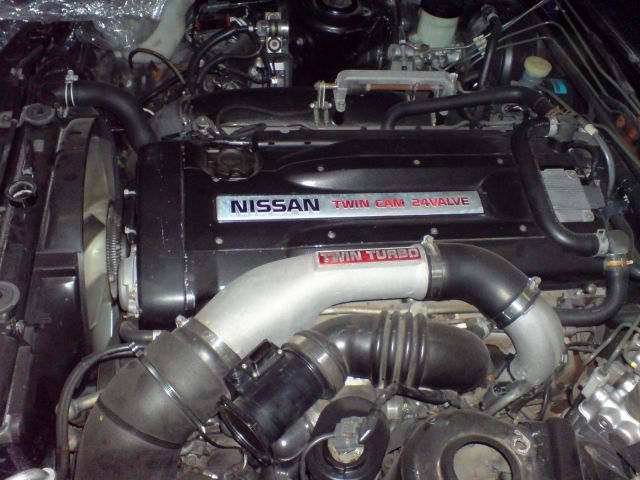
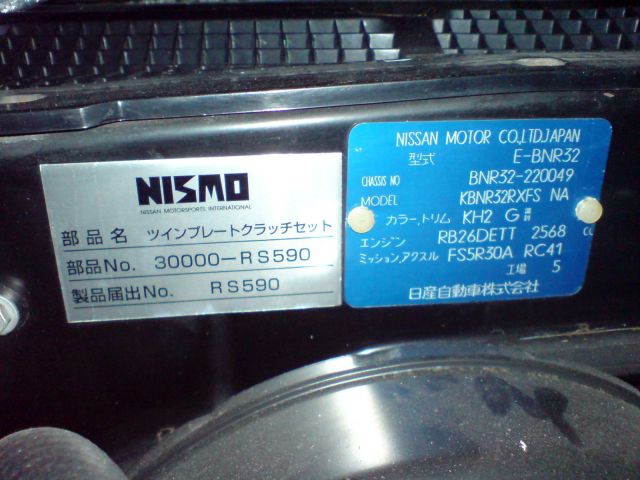
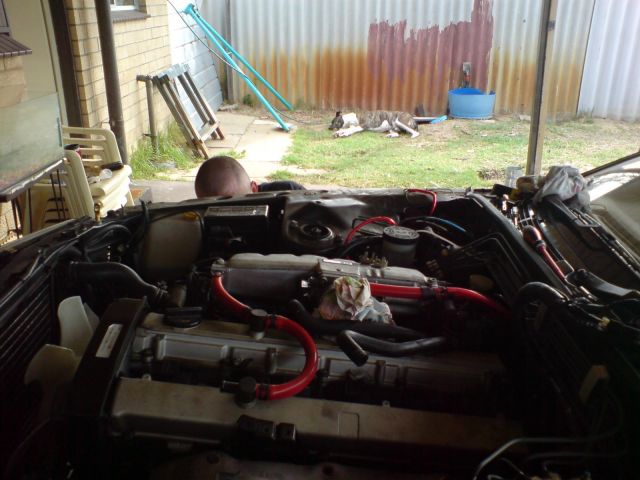
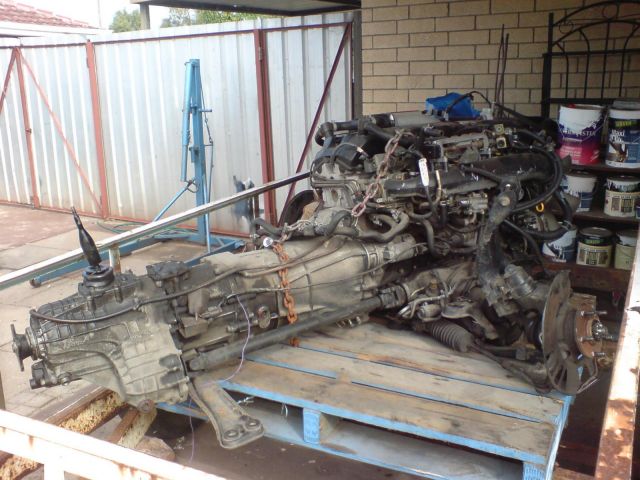
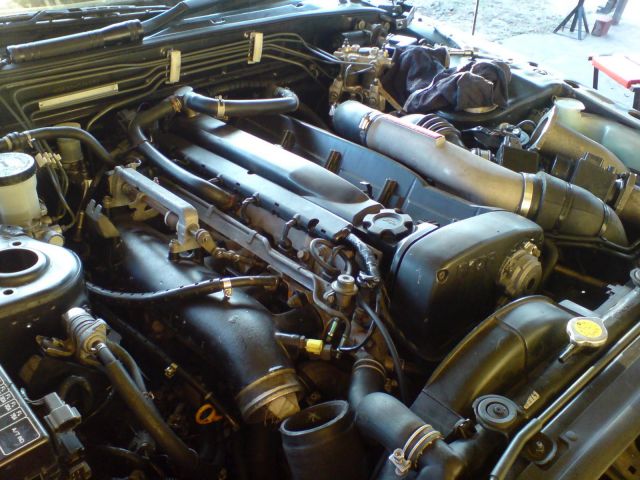
Now it's time to fit the 26, here's one we prepared earlier....
Now using a reverse system to the way we removed the 20, we slotted the 26 in lowering the car slowly and checking all of our clearances on both sides of the engine. As we slowly lowered the car to a point where we could still reach underneath, we stabilised the car then set about lifting the setup using the trolley jacks and aligning the sub-frame bolts, and gearbox crossmember holes.
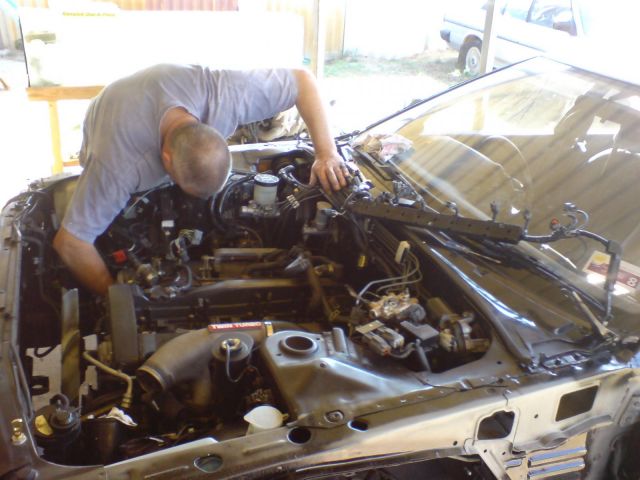
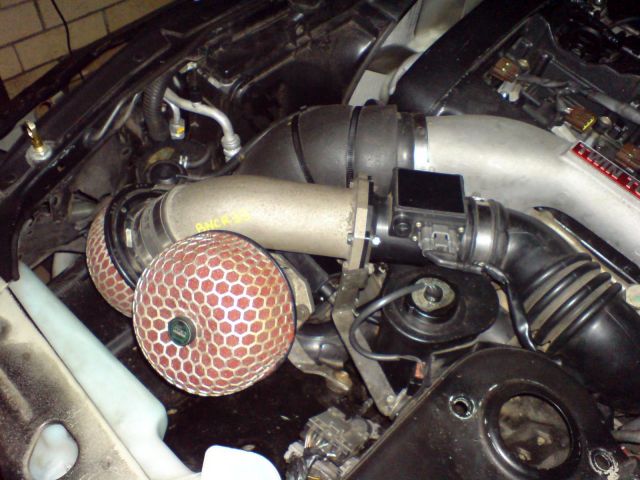
Once everything was lined up and bolted in, we proceeded to connect all of the other pipes, tubes, wires, etc...
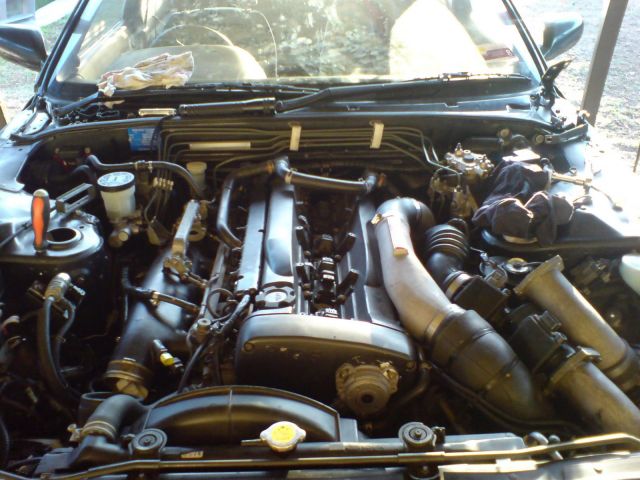
All wired up and ready to fire.
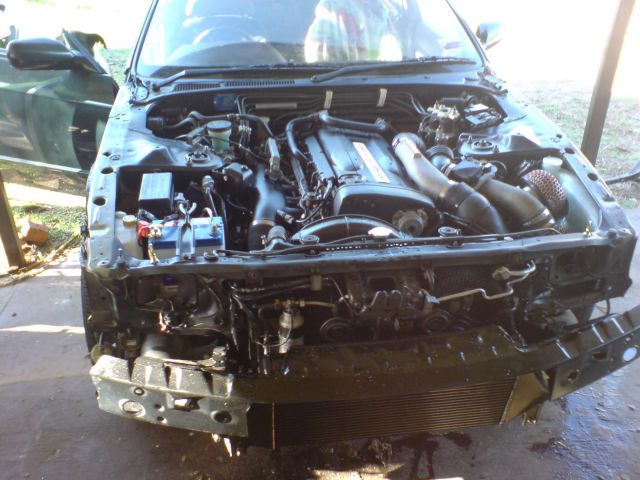
We left the original HNR wiring and dash in place while the transplant and fire up was being done. Once the start was accomplished and everything such as oil pressure was good, we road tested the car.
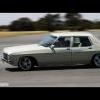
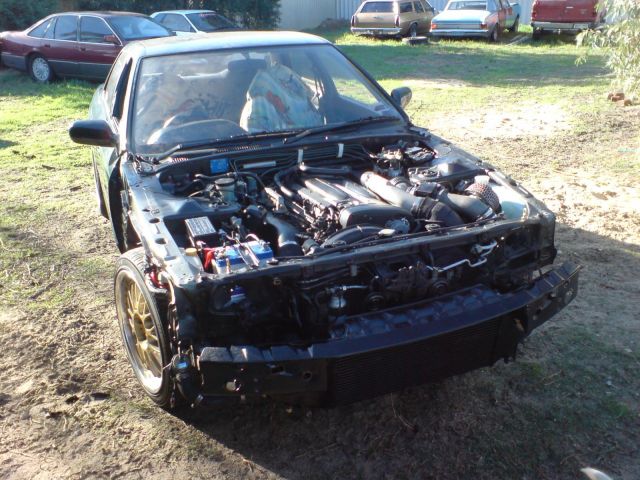
First pop and she was rumbling away. This is how she was road tested.
Next, we wanted to install the triple cluster so out came the dash and we exchanged the GT-R wiring loom in. We wanted to fire the car up and get her running before we did this step in case there was an issue on fire up, there would be less wiring to track the fault down to.
All back together again and ready to rumble.

Next the front pipes and decat went in then took her for a spin. All is well with the car.
We took her back and decided to remove the boost restrictor then I soldered the Mines chip into the ECU. BIG difference.
The last thing that was done is we replaced the Gts-4 rear differential with one from a GT-R as the ratios are different.
The cut cost $6,500 with the Nismo gear. We didn't need anything else to complete the job other than fluids.

 Back to top