I started by pouring some fibreglass resin onto a sheet of melamine, then I layered 4 sheets of fibreglass onto the resin, adding resin to each layer. In between layers I used a fibreglass roller on the layers to remove any excess air bubbles.
Once dry I peeled the fibreglass from the melamine and cut the sheet to the size I needed for my cluster support. I decided to use the area where the stereo and pocket are. I wanted 5 gauges so the stereo had to go. If you wanted to you can use the area where the storage space is under the stereo and this will accommodate 3 gauges.
After cutting the sheet to size, I primered the sheet, measured and located where the gauges will go, then cut the holes. Next I cleaned up the holes, test fitted the sheet to the console surround, then painted the sheet after ensuring that the gauges will seat properly. I used a wrinkle paint to blend in with the console surround.
Here is an image of the gauges after I test fitted the locations.
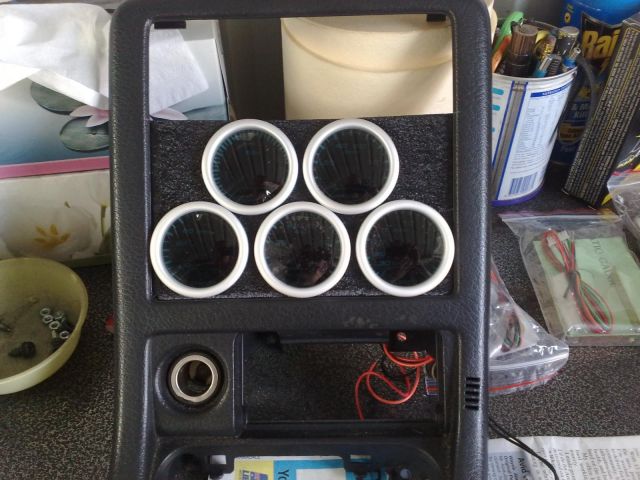
After locating the sheet into place on the console surround I glued the sheet to the surround using a hot melt glue gun. Then I glued the gauges into place.
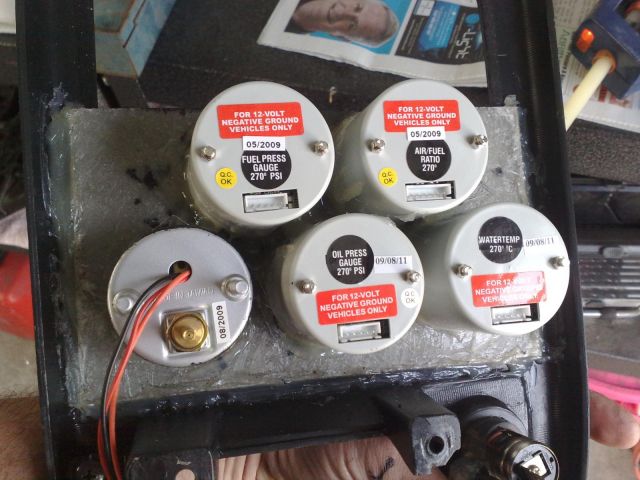
Next I used small pieces of timber to brace the gauges in the surround because they were a bit wobbly. The reason for this is because of the amount of gauges I installed and the lack of fibreglass present.
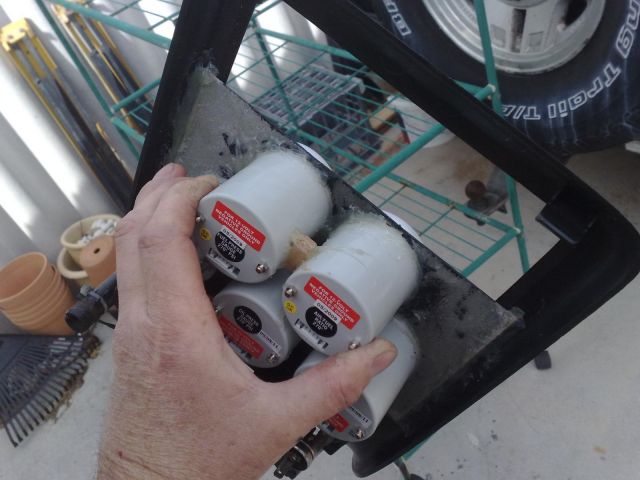
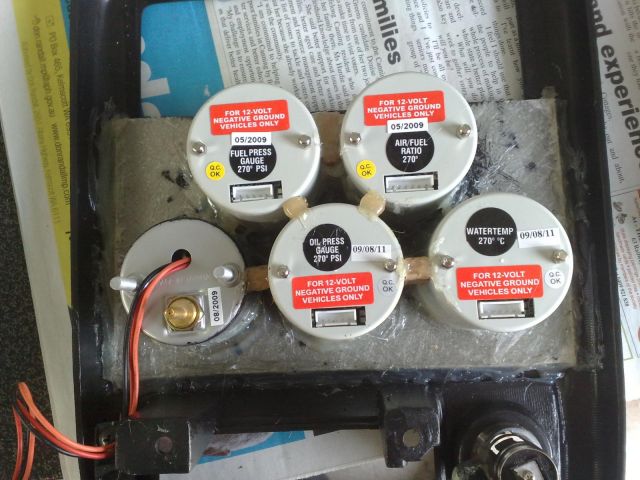
Next I wired the gauges up using harnesses. This allows for easy removal of the surround from the car if needed.
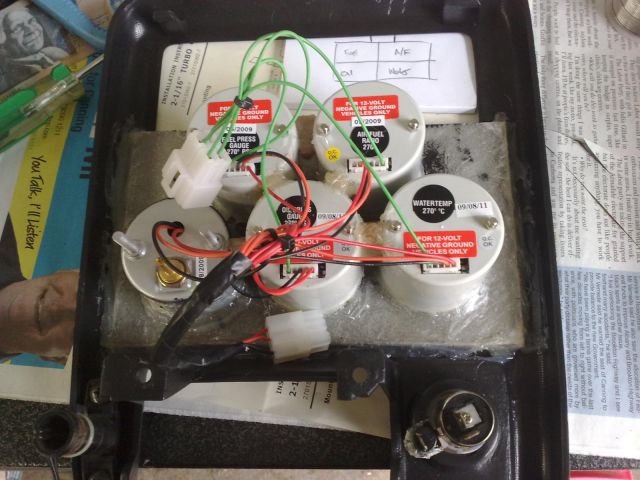
Next I tested the gauges after wiring in the senders, voltage, light dimmers, etc.
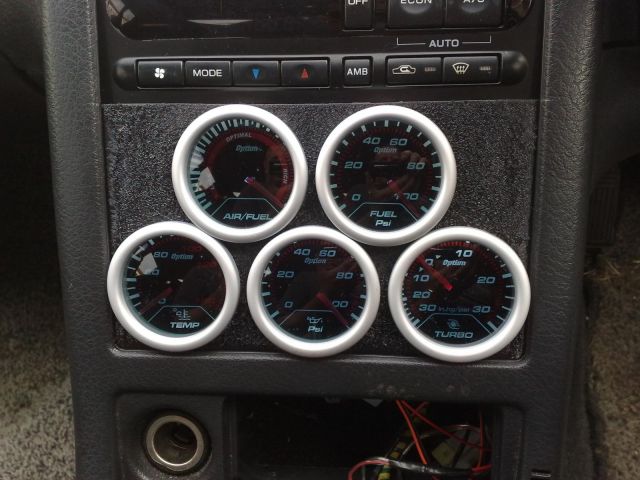
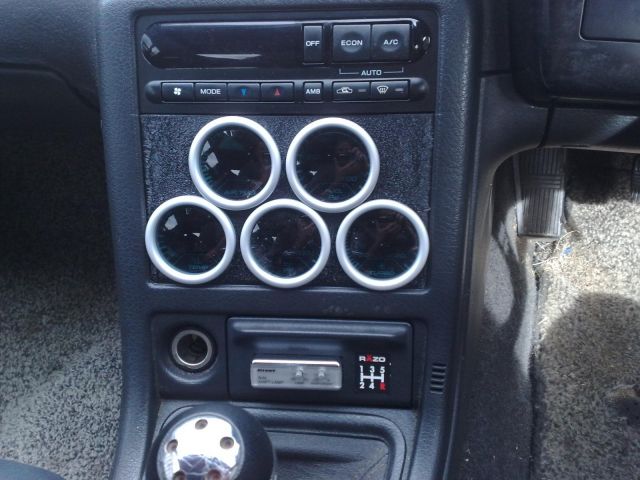
Now I put everything back together and voila!

 Sign In
 Create Account


 Back to top


